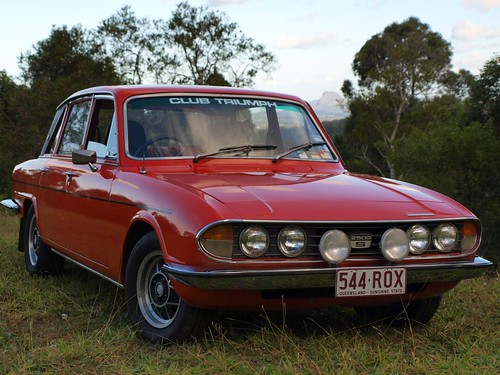
I don't really add much to this blog anymore because BOB just gets driven and every now and then the oil is changed, points reset and son on. But as you may just about tell from the photo below some new wheels were added a while back. Predictable 15 inch Revolutions. Awesome Kenda tyres too (seriously, they grip very well in the wet).
But a more tinkery change occured last weekend.

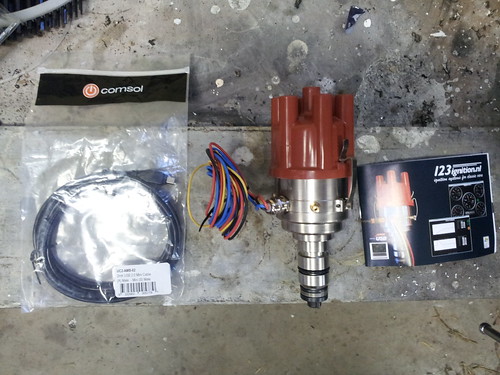
In an effort to tame BOB's lumpy idle I took the plunge and grabbed a 123 Tune - it's the version which enables the user to set bespoke ignition curves for crankshaft advance and manifold absolute pressure (MAP).
The classic car modification world is a weird one I must say. Nowhere did the website say (as far as i know) that the module doesn't come complete with the cable to connect to the laptop, but I verified through websearches that it's a mini-usb > USB cable (NOT micro-USB) and bought one in advance (pun intended).
Here it is alongside the cable. Interestingly, I took a photo of the instruction manual too ... shortly before I burnt it (ok, I got close).
I thought instruction manuals normally had diagrams and photos explaining what goes where, etc, but apparently 123 Tune only needs a dodgy schematic in the back and amateur Dutchglish writing which skips out sections. Well it's not hard to identify that beneath this (photo below) is the socket for your mini-USB cable but why didn't they tell me in the manual? (You need an 8mm hex head key to undo it by the way)
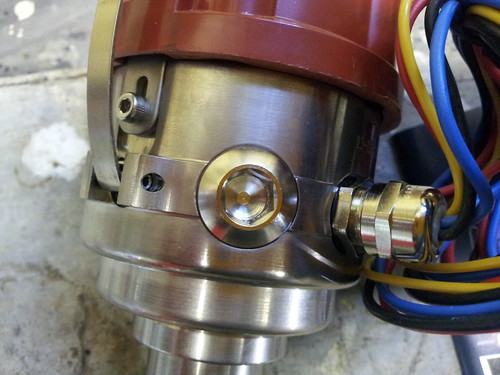
Once you have the screw out and the cable in, attach the laptop and fire up the free, downloadable software and swoon at the curvy possibilities.

Here's the 123 facing off with its predecessor - a worn out buggered about Lucas wobble-top.

The unit drops in as a straightforward replacement. The manual suggests you set up as per the static timing (for me 13' on the Lucas) but I don't think there's any sense in that, because (as far as I can tell) the unit doesn't know what that static timing point is, it starts from 0 and your curves are being set at static timing plus crank advance ... i.e. if you want 23' total advance it's only 10' crankshaft advance on the curve. Please correct me if I'm wrong.
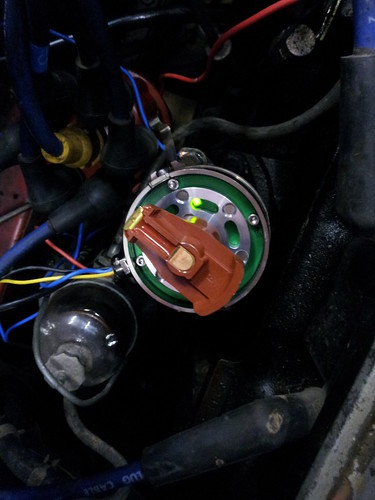
The manual explains you set the unit with the rotor pointing to #1 and rotating until the green LED light turns on, then rattles on a bit, then mentions the LED is between the holes in the base plate. Of course you (I) don't (didn't) see that, already have the lid on and am looking around everywhere for a bloody green LED!!! Well, maybe it's ... oh yes, it's inside. Anyway here's a photo for anyone looking.
So far my installation was going fine, just a little bit slower due to a bad manual and bad reading of the manual. The I hit a big stumbling block.
All hooked up, wired in and ready, nay raring, to go. Turn the key and... a bit of a whirr but no apparent firing. Hmmmm.
... insert hours of tracing wires, setting it up over and over again, trying a zillion different advance settings for idle, checking websites (including the manufacturers awful forum), screaming at the instruction manual, charging the battery (a few times), retiring for beer, sleep and blood pressure pills...
Then breathe deeply, swap out the ballast resistor friendly coil (9v) for a non ballast resistor coil (12v) and remove the ballast resistor... oh, so the coil wasn't happy was it. Now we've got a spark and, not much more. The engine would fire with vigour, but as soon as the key was released die again.
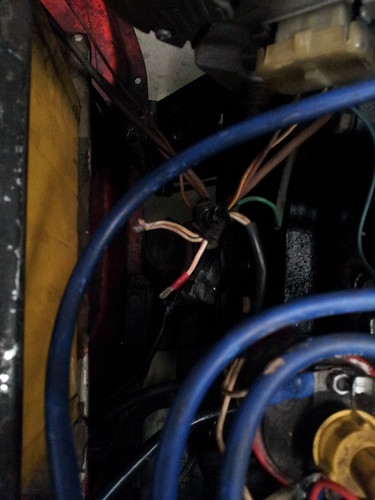
Then I remembered the original wiring had the ballast resistor built in to the wiring. It was severed when I put a different ignition system on ... then I think when I went back to a system which needed a ballast resistor I used the ignition live (red spade terminal in photo) through a bolt on ballast resistor.
Anyway I taped these wires together, turned the key and bam!
Now I can honestly say the old boy is firing better than ever before, some test runs around the local, (very hilly) area were enough to allow me to back off the SUs' mixture three flats.
There's still plenty of experimenting to go, but the lumpiness is slightly subdued so far (may end up swapping the cam over). However it picks up in all gears from 1000 rpm with no hesitation, screamed up to 4700 rpm in fourth this morning (before I reached the end of my private test track) and ... well, I'm pretty happy so far.
... and if you need any auto-electrickery advice. ... Erm, ask someone else.